Image Processing with Python
Basic Knowledge
-
Color. If you have experience painting with pigments, you know that mixing red, yellow, and blue pigments can produce other colors. In fact, these three colors are the primary colors in art, and they are basic colors that cannot be further decomposed. In computers, we can combine other colors by overlaying red, green, and blue light in different proportions, so these three colors are the primary colors of light. In computer systems, we usually represent a color as an RGB value or RGBA value (where A represents the Alpha channel, which determines the transparency through the pixels of this image).
Name RGB Value Name RGB Value White (255, 255, 255) Red (255, 0, 0) Green (0, 255, 0) Blue (0, 0, 255) Gray (128, 128, 128) Yellow (255, 255, 0) Black (0, 0, 0) Purple (128, 0, 128) -
Pixels. For an image represented by a digital sequence, the smallest unit is a small square of a single color on the image. These small squares all have a clear position and assigned color values, and the color and position of these small squares determine the final appearance of the image. They are indivisible units, which we usually call pixels. Each image contains a certain number of pixels, which determine the size of the image displayed on the screen. If you love taking photos or selfies, you won’t be unfamiliar with the word pixel.
Processing Images with Pillow
Pillow is a branch developed from the famous Python image processing library PIL. Through Pillow, you can perform various operations such as image compression and image processing. You can use the following command to install Pillow.
pip install pillowThe most important class in Pillow is the Image class. You can read images and obtain Image type objects through the open function of the Image module.
-
Reading and displaying images
from PIL import Image

# Read image to get Image object
image = Image.open('guido.jpg')
# Get image format through the format attribute of the Image object
print(image.format) # JPEG
# Get image size through the size attribute of the Image object
print(image.size)   # (500, 750)
# Get image mode through the mode attribute of the Image object
print(image.mode)   # RGB
# Display image through the show method of the Image object
image.show()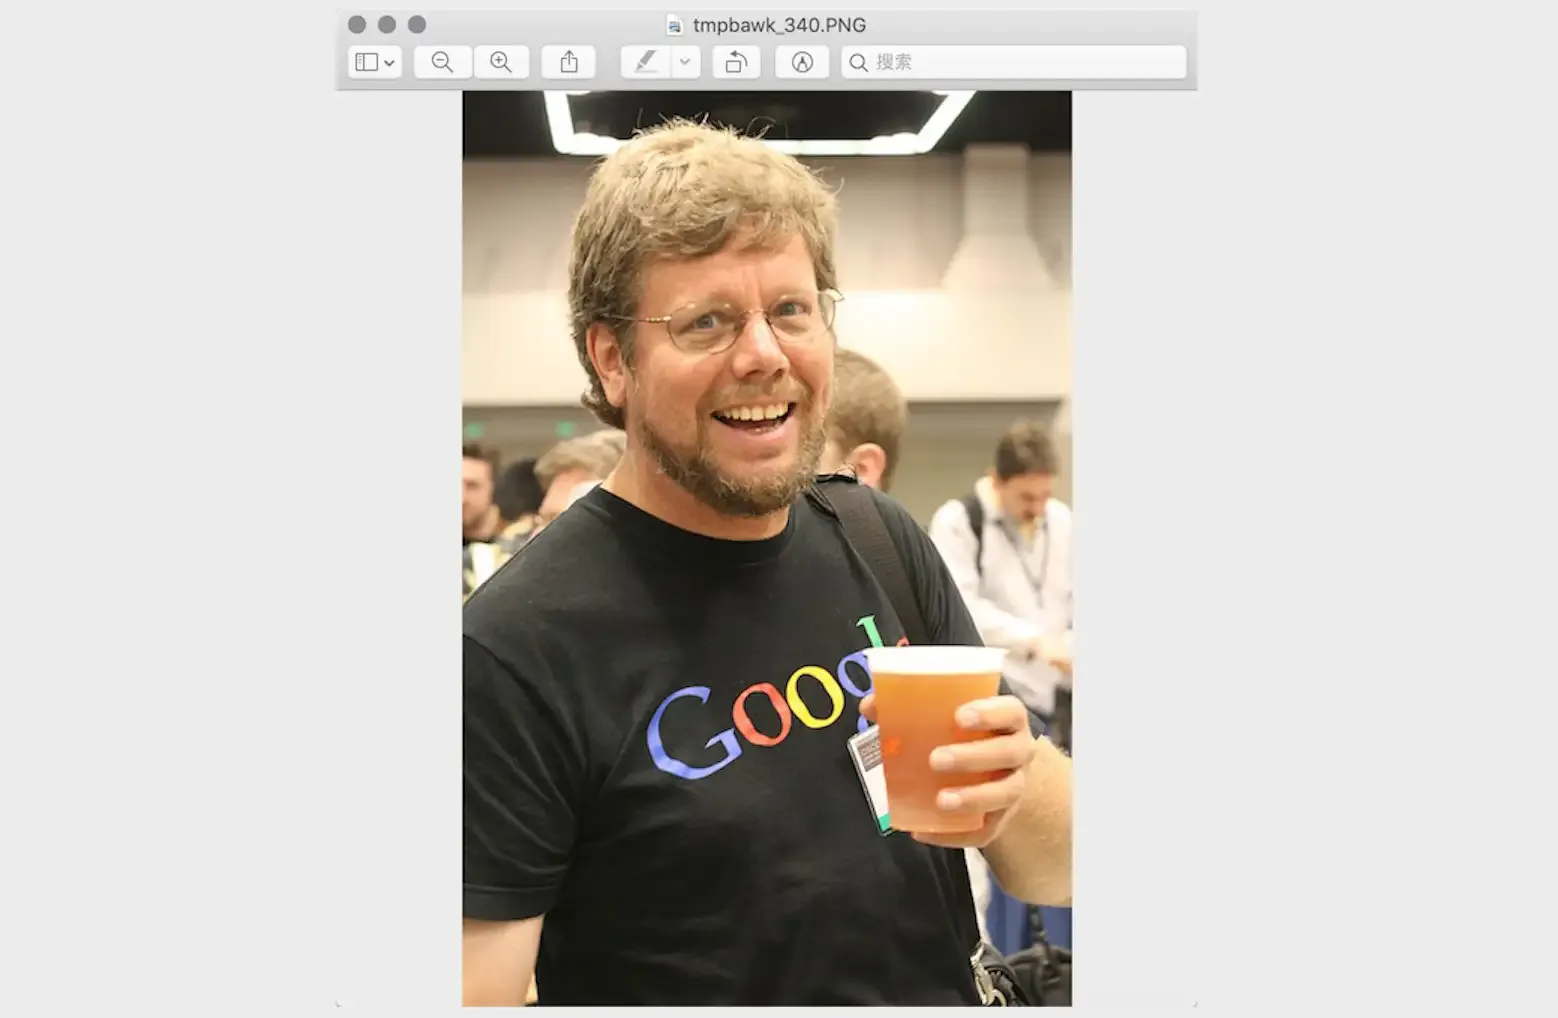
-
Cropping images
# Crop image by specifying crop area through the crop method of the Image object
image.crop((80, 20, 310, 360)).show()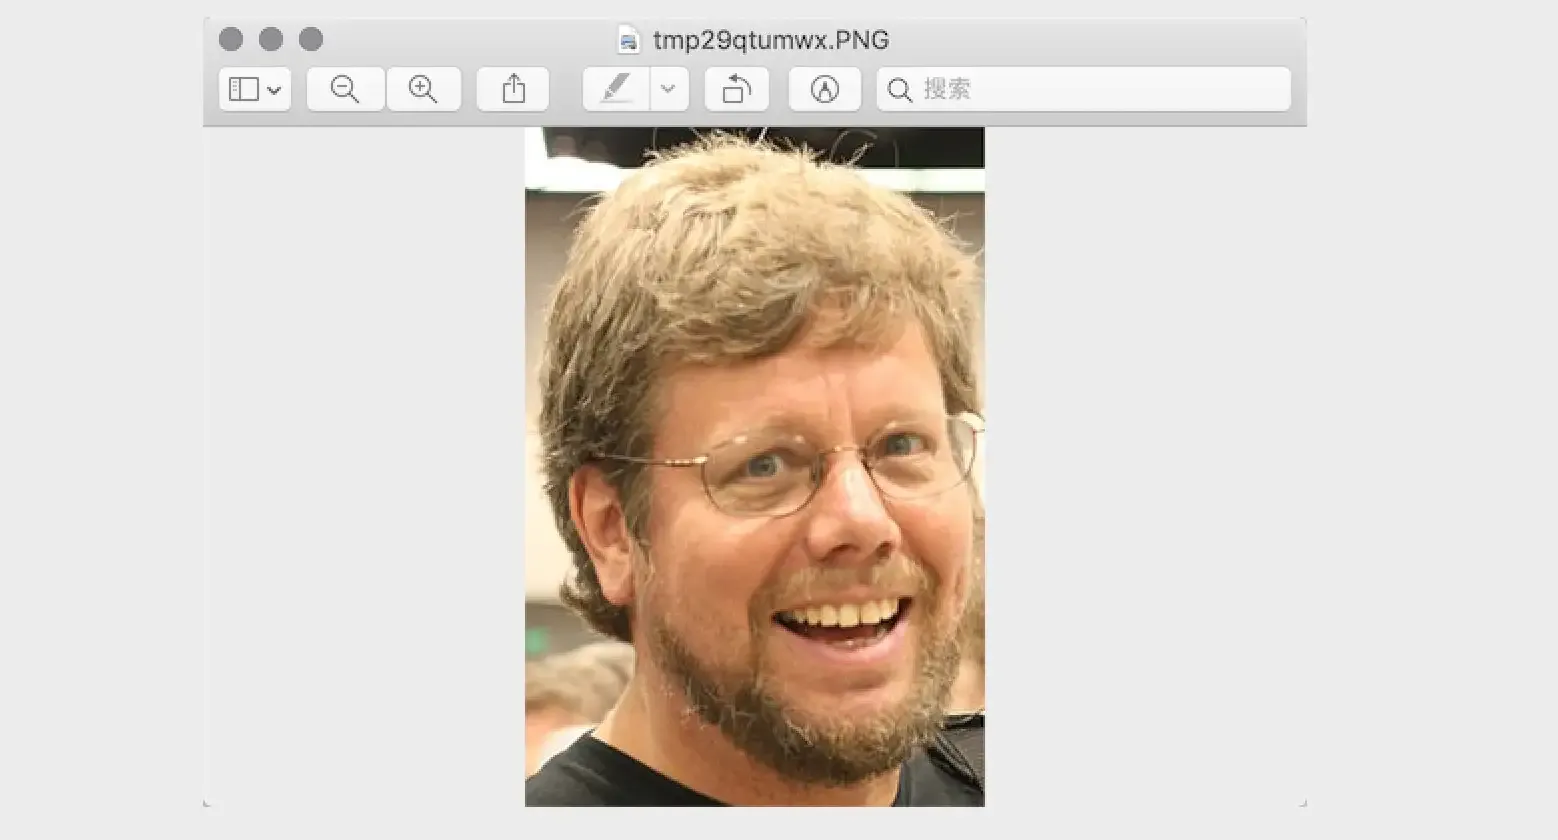
-
Generating thumbnails
# Generate thumbnail of specified size through the thumbnail method of the Image object
image.thumbnail((128, 128))
image.show()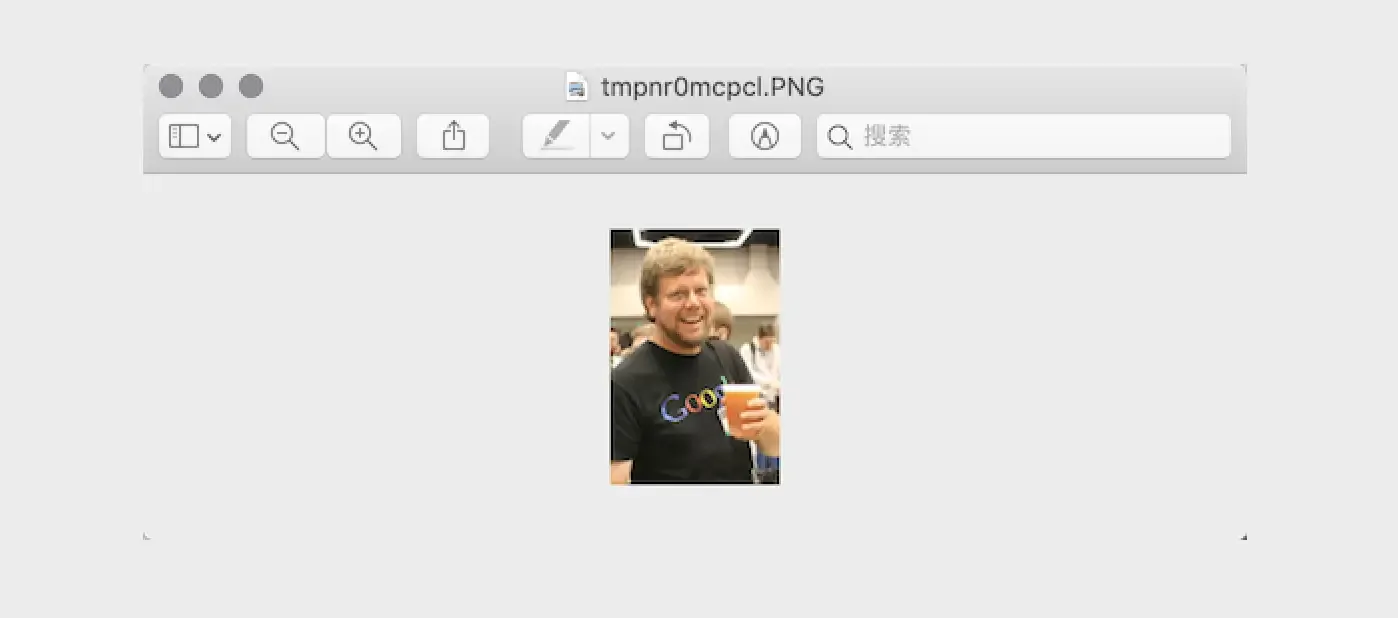
-
Scaling and pasting images
# Read Luo Hao's photo to get Image object
luohao_image = Image.open('luohao.png')
# Read Guido's photo to get Image object
guido_image = Image.open('guido.jpg')
# Crop Guido's head from Guido's photo
guido_head = guido_image.crop((80, 20, 310, 360))
width, height = guido_head.size
# Use the resize method of the Image object to modify the image size
# Use the paste method of the Image object to paste Guido's head onto Luo Hao's photo
luohao_image.paste(guido_head.resize((int(width / 1.5), int(height / 1.5))), (172, 40))
luohao_image.show()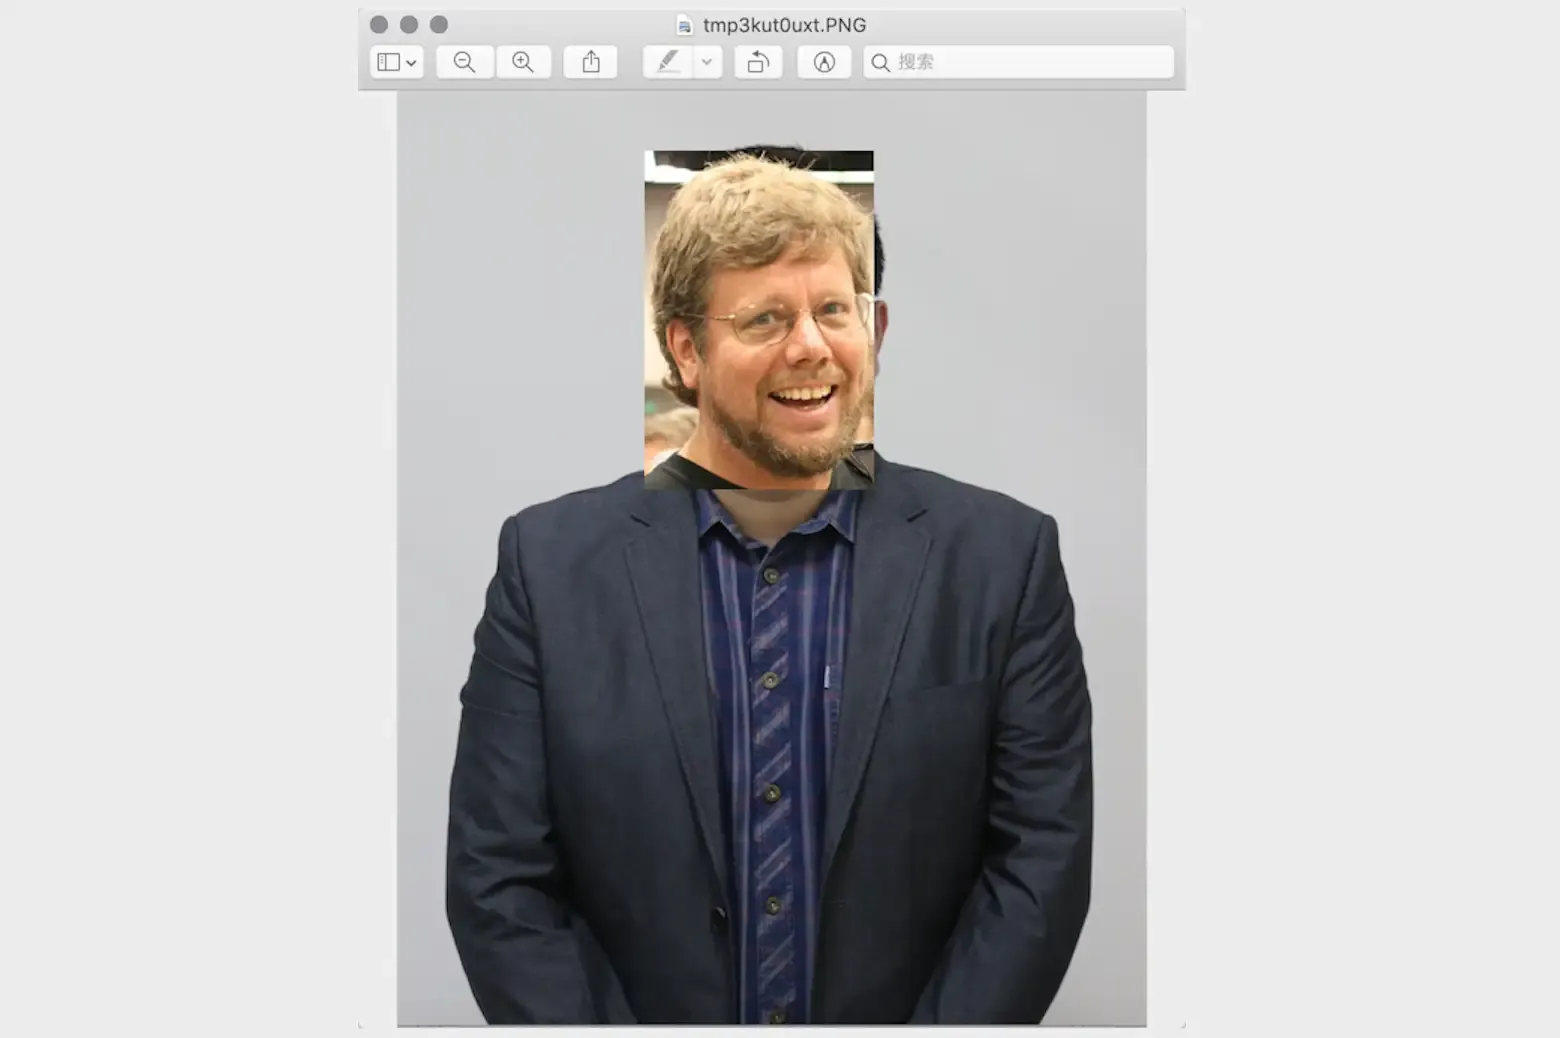
-
Rotating and flipping
image = Image.open('guido.jpg')
# Use the rotate method of the Image object to rotate the image
image.rotate(45).show()
# Use the transpose method of the Image object to flip the image
# Image.FLIP_LEFT_RIGHT - horizontal flip
# Image.FLIP_TOP_BOTTOM - vertical flip
image.transpose(Image.FLIP_TOP_BOTTOM).show()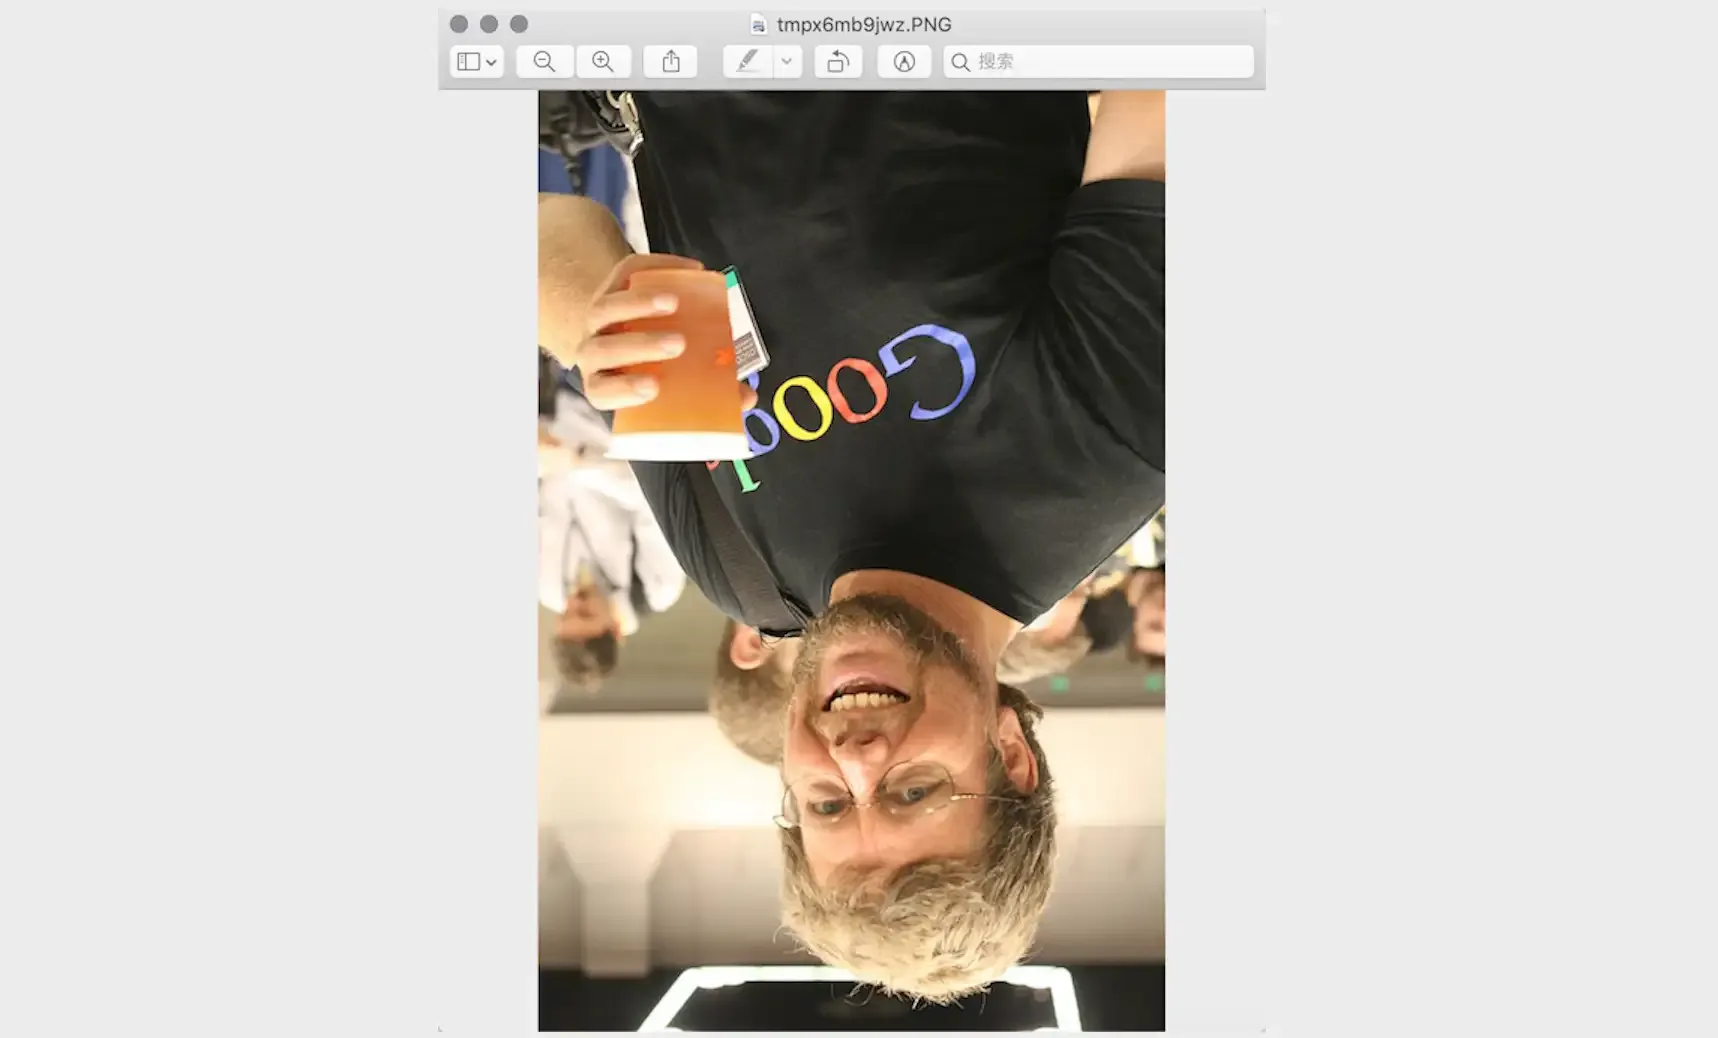
-
Manipulating pixels
for x in range(80, 310):
    for y in range(20, 360):
        # Modify specified pixel point of the image through the putpixel method of the Image object
        image.putpixel((x, y), (128, 128, 128))
image.show()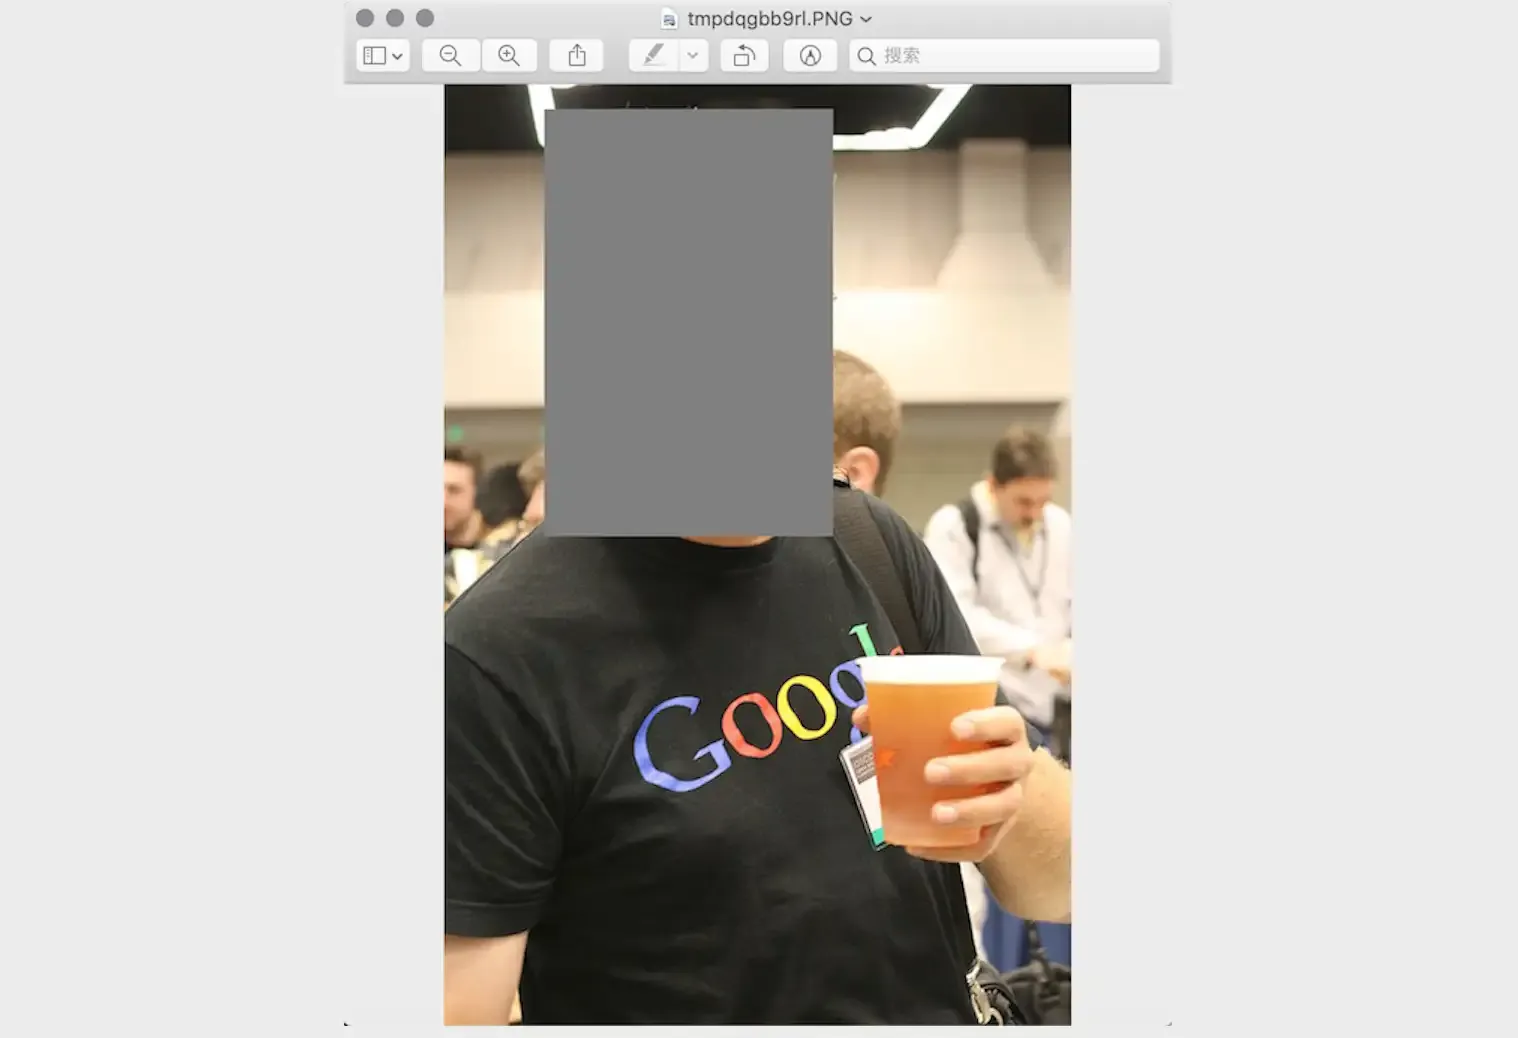
-
Filter effects
from PIL import ImageFilter

# Use the filter method of the Image object to apply filters to the image
# The ImageFilter module contains many preset filters and you can also customize filters
image.filter(ImageFilter.CONTOUR).show()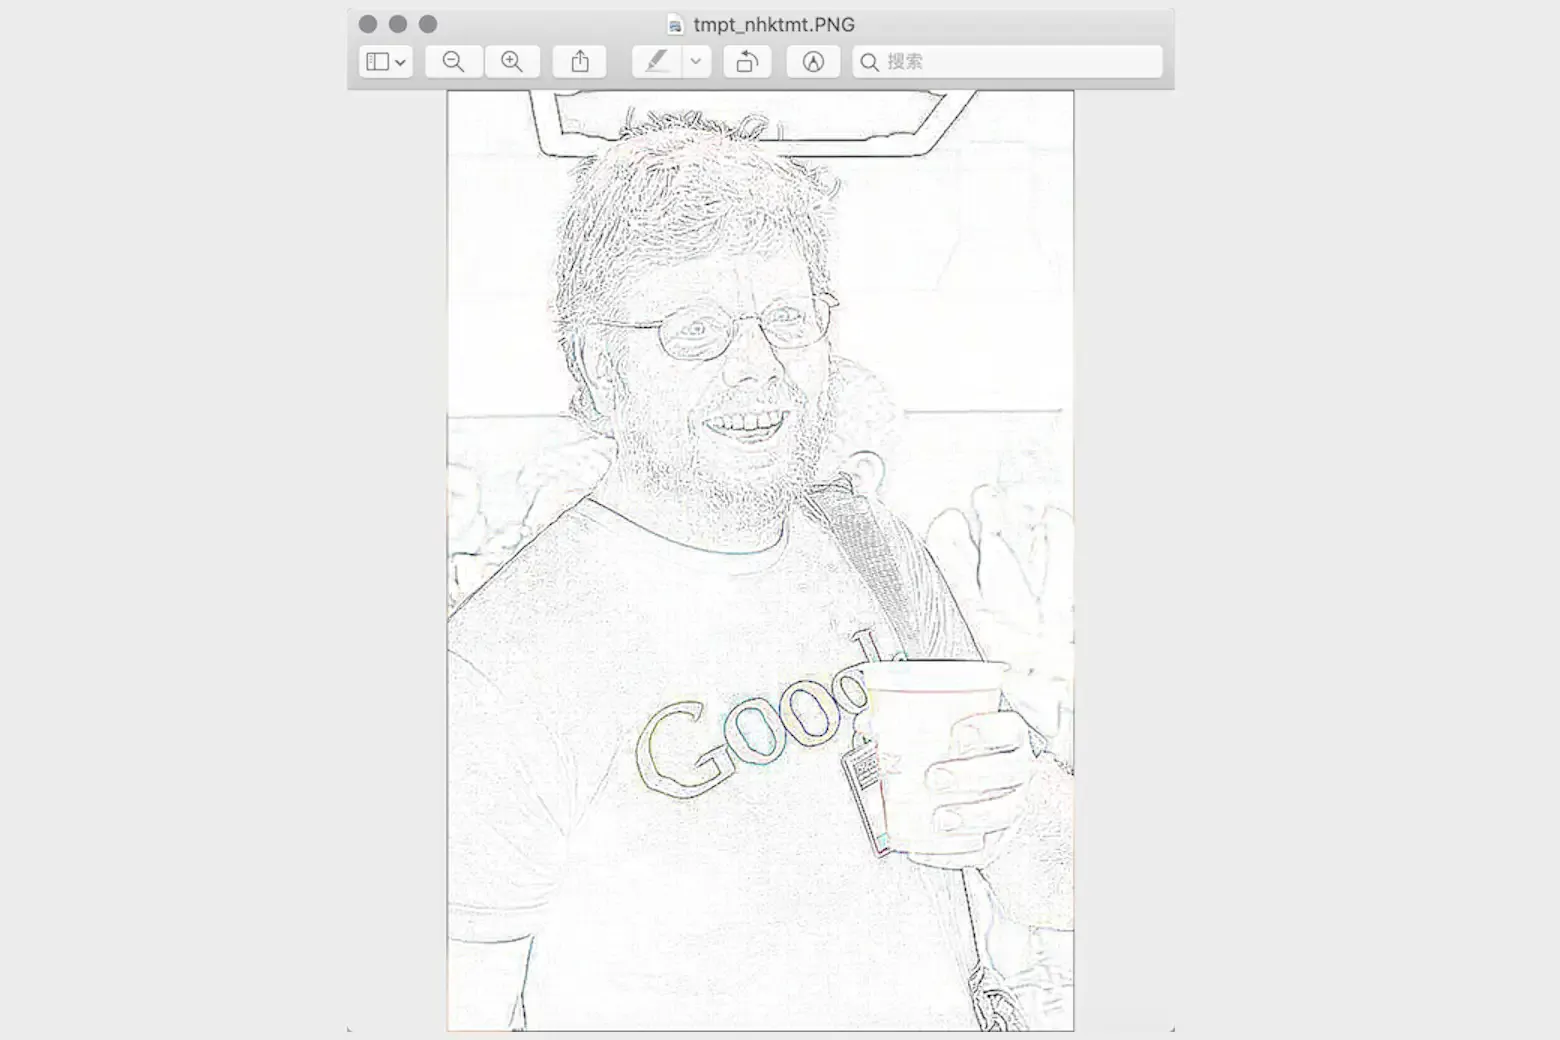
Drawing with Pillow
There is a module called ImageDraw in Pillow. The Draw function of this module returns an ImageDraw object. Through the arc, line, rectangle, ellipse, polygon and other methods of the ImageDraw object, you can draw arcs, lines, rectangles, ellipses, polygons and other shapes on the image. You can also add text to the image through the text method of this object.
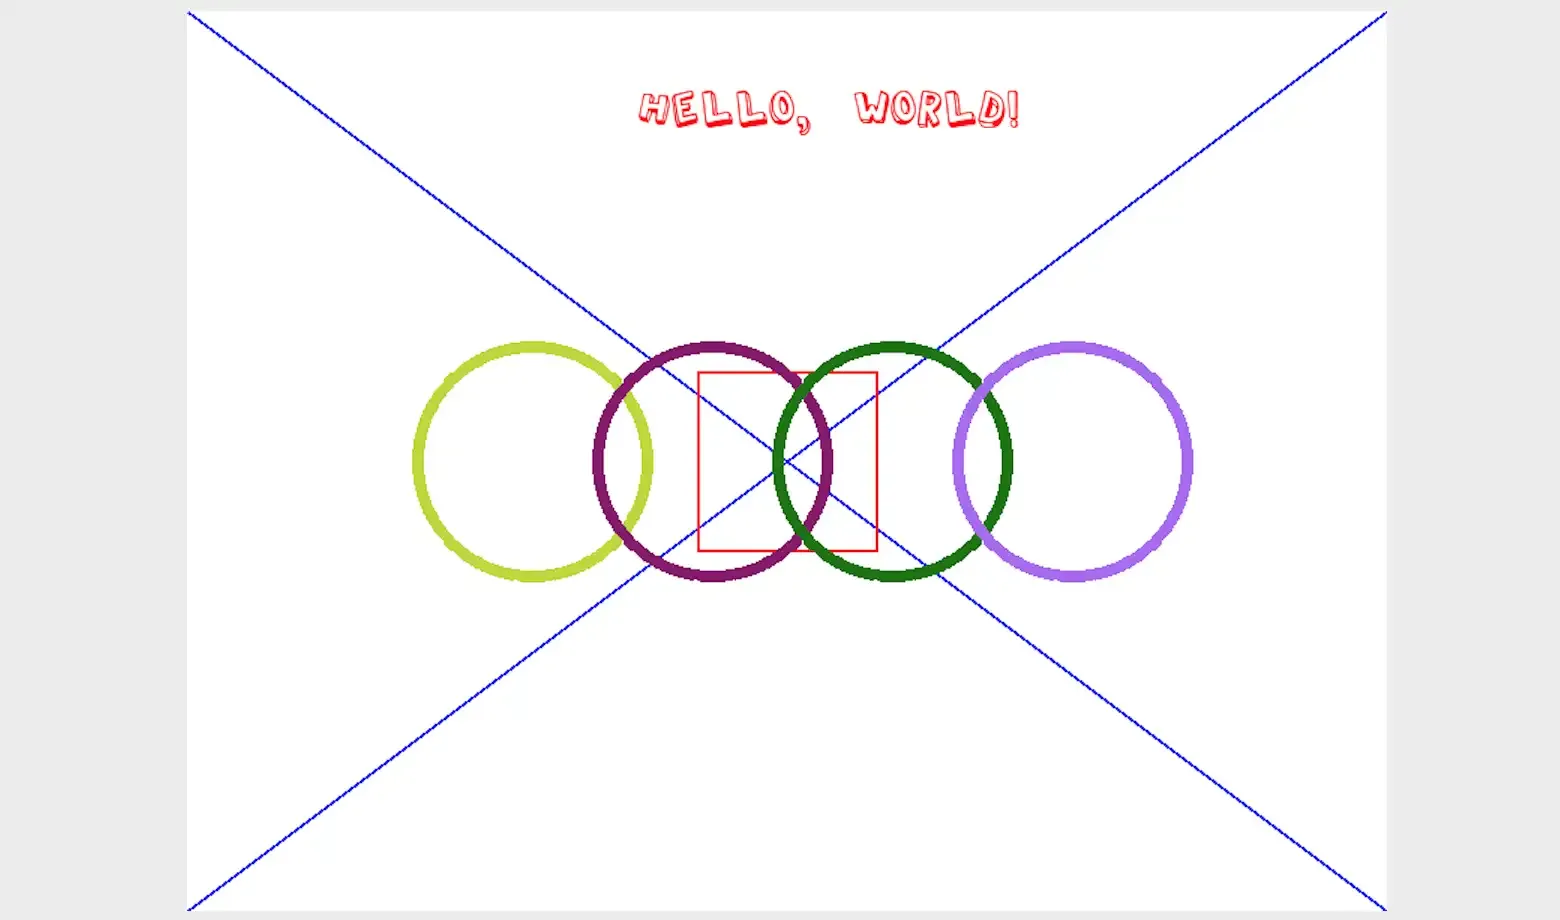
To draw the image shown above, the complete code is as follows.
import random

from PIL import Image, ImageDraw, ImageFont


def random_color():
    """Generate random color"""
    red = random.randint(0, 255)
    green = random.randint(0, 255)
    blue = random.randint(0, 255)
    return red, green, blue


width, height = 800, 600
# Create an 800*600 image with white background
image = Image.new(mode='RGB', size=(width, height), color=(255, 255, 255))
# Create an ImageDraw object
drawer = ImageDraw.Draw(image)
# Get ImageFont object by specifying font and size
font = ImageFont.truetype('Kongxin.ttf', 32)
# Draw text through the text method of the ImageDraw object
drawer.text((300, 50), 'Hello, world!', fill=(255, 0, 0), font=font)
# Draw two diagonal lines through the line method of the ImageDraw object
drawer.line((0, 0, width, height), fill=(0, 0, 255), width=2)
drawer.line((width, 0, 0, height), fill=(0, 0, 255), width=2)
xy = width // 2 - 60, height // 2 - 60, width // 2 + 60, height // 2 + 60
# Draw rectangle through the rectangle method of the ImageDraw object
drawer.rectangle(xy, outline=(255, 0, 0), width=2)
# Draw ellipse through the ellipse method of the ImageDraw object
for i in range(4):
    left, top, right, bottom = 150 + i * 120, 220, 310 + i * 120, 380
    drawer.ellipse((left, top, right, bottom), outline=random_color(), width=8)
# Display image
image.show()
# Save image
image.save('result.png')Note: The font file used in the above code needs to be prepared according to your own needs. You can choose your favorite font file and place it in the code directory.
Summary
In fact, when using Python for development, in addition to using Pillow to process images, you can also use the more powerful OpenCV library to complete graphics and image processing. OpenCV (Open Source Computer Vision Library) is a cross-platform computer vision library that can be used to develop real-time image processing, computer vision, and pattern recognition programs. In our daily work, many tedious and boring tasks can actually be handled by Python programs. The purpose of programming is to let computers help us solve problems and reduce repetitive and boring labor. Through the study of this chapter, I believe everyone has already felt the fun of using Python programs to draw and modify images. In fact, Python can do far more than this. Continue your learning journey!